

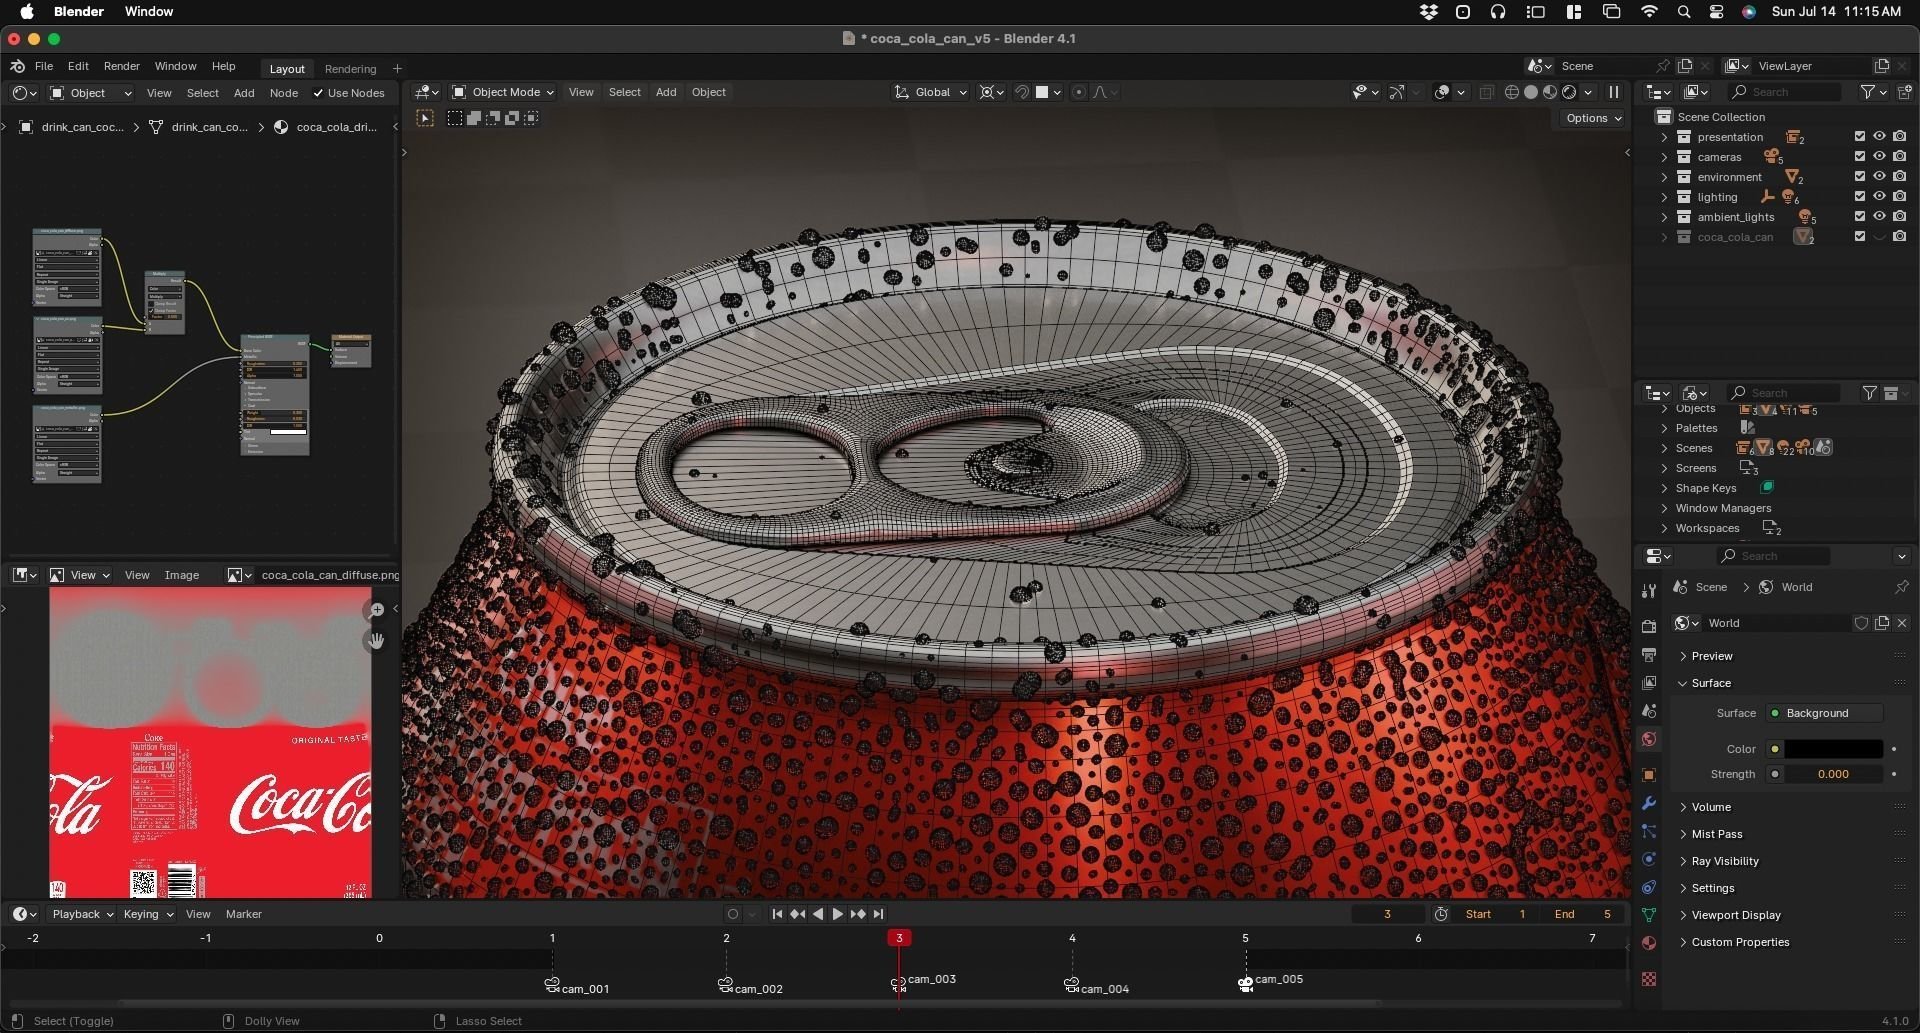
Creating a 3D asset that looks photorealistic in a render is one thing. Building a production-ready 3D asset that holds up under dynamic lighting, deforms cleanly during animation, and runs smoothly at 60+ frames per second inside Unreal Engine or Unity is an entirely different discipline.
Whether you are an aspiring 3D artist refining your workflow or a creative producer looking to understand how studio-grade models are built, mastering the end-to-end 3D asset creation pipeline is essential. Every hero weapon, vehicle, architectural prop, or digital product follows a structured sequence of technical stages—where skipping even a single step early on can cause major bottlenecks during texturing or engine integration.
Here is the complete, industry-standard breakdown of how to create 3D assets from a blank viewport to a final engine-ready deliverable.
Stage 1: Reference Gathering and Technical Specification
Every reliable 3D asset begins long before a single polygon is placed in the viewport. Jumping straight into modeling without clear visual references and technical constraints is the fastest way to produce inaccurate proportions and unusable geometry.
Collecting Visual References
Start by building a structured reference board using tools like PureRef. Gather multiple angles—front, side, top, three-quarter, and close-up surface details—alongside real-world material references. If you are working from 2D concept art, verify how mechanical parts connect, how hinges rotate, and where seams or panel breaks naturally occur in real manufacturing.
Locking Technical Specs
Before modeling, define the target specifications based on where the asset will live:
Target Platform: Mobile/VR games require strict triangle budgets (e.g., 2,000–8,000 tris for a prop), whereas PC/console titles or cinematic VFX renders allow significantly higher geometric density.
Real-World Scale: Set your DCC (Digital Content Creation) software—such as Autodesk Maya, 3ds Max, or Blender—to real-world metric units (typically 1 unit = 1 centimeter) so scale remains consistent across engines.
Texel Density: Establish your texture resolution target (e.g., 512 px/m or 1024 px/m) so every asset in a scene shares consistent visual sharpness.
Stage 2: Blockout and Silhouette Validation
The blockout phase—often called greyboxing—focuses strictly on primary forms, proportions, and silhouette. Using primitive shapes (cubes, cylinders, spheres, and basic extrusions), build a rough version of the entire object without worrying about edge loops, bevels, or micro-details.
At this stage, check two critical factors:
Silhouette Readability: View the model as a flat black silhouette from multiple camera angles. If the object is immediately recognizable without surface textures, your proportions are working.
Mechanical Articulation: If the asset includes moving parts—such as vehicle wheels, doors, triggers, or robotic joints—test their rotation pivots now to ensure parts do not clip through surrounding geometry.
Stage 3: High-Poly Modeling and Detailing
Once the blockout proportions are locked, you move into high-poly modeling. The purpose of the high-poly mesh is not to go directly into a game engine; rather, it acts as a high-resolution master surface from which fine surface details will later be baked onto an optimized low-poly mesh.
Depending on the type of asset, artists typically use one of three approaches:
Subdivision Surface (Sub-D) Modeling: Using tools like Maya or 3ds Max, artists add supporting control loops around hard edges so that applying a smoothing algorithm (like OpenSubdiv or TurboSmooth) produces crisp, realistic light-catching bevels without pinching.
CAD / NURBS Modeling: For complex industrial designs, weapons, and vehicles, modern CAD-based polygonal tools like Plasticity allow artists to execute clean boolean cuts, variable fillets, and smooth surface transitions without fighting topology constraints early on.
Digital Sculpting: For organic creatures, characters, worn stone, or fabric folds, sculpting tools like ZBrush allow millions of polygons to capture micro-surface imperfections, scratches, and organic anatomy.
Pro Tip: Avoid razor-sharp 90-degree edges in your high-poly model. In the real world, every machined edge has a slight bevel that catches specular highlights. Slightly exaggerating edge width ensures those highlights bake cleanly into your normal map.
Stage 4: Retopology and Low-Poly Optimization
If you drop a 2-million-polygon high-poly sculpt into a real-time engine, frame rates will plummet and rigging will become impossible. Retopology is the process of building a clean, lightweight low-poly mesh directly over the surface of your high-poly model.
A well-constructed low-poly mesh follows three core rules:
Silhouette Preservation: Concentrate polygons where they define the outer contour and curved silhouettes, while reducing geometry on flat planar surfaces.
Clean Edge Flow: Use quads (four-sided polygons) as your primary building block—especially on characters or deforming surfaces—avoiding N-gons (polygons with five or more sides) that can triangulate unpredictably in game engines.
Zero Mesh Errors: Run cleanup checks to eliminate non-manifold geometry, overlapping vertices, flipped normals, and zero-area faces before moving forward.
For real-time applications, this is also where you generate LODs (Levels of Detail)—progressively lighter versions of the mesh (LOD1, LOD2, LOD3) that the engine swaps in automatically as the camera moves farther away.
Stage 5: UVW Unwrapping and Packing
Think of UV unwrapping as carefully cutting along the seams of a cardboard box and laying it flat on a table so you can paint on it. Every 3D vertex ($X, Y, Z$) is mapped to a 2D coordinate ($U, V$) so 2D image textures wrap accurately around the 3D surface.
To ensure clean texturing and zero visual artifacts:
Place Seams Strategically: Hide UV seams along natural panel breaks, hard edges, or occluded undersides where players and cameras rarely look directly.
Eliminate Stretching: Use a UV checker pattern to verify that squares appear uniform across the entire mesh rather than warped or elongated.
Set Smoothing Groups / Hard Edges: Any edge with a sharp shading split (typically angles over 45–60 degrees) must also be split into separate UV islands with adequate pixel padding between them—otherwise, dark seam artifacts will appear when baking normal maps.
Maximize UV Space: Pack UV islands tightly within the 0–1 UV tile (aiming for 70%–85% coverage) while maintaining consistent texel density across all components.
Stage 6: Texture Baking (High-Poly to Low-Poly)
With both the high-poly and UV-mapped low-poly meshes aligned in the exact same world-space coordinates, you are ready to bake mesh maps using tools like Marmoset Toolbag or Adobe Substance 3D Painter.
Ray-tracing algorithms project surface data from the high-poly mesh onto the low-poly UV layout, generating foundational utility maps:
Normal Map: Simulates high-resolution surface bumps, bevels, and engraved details without adding actual polygons.
Ambient Occlusion (AO): Captures soft contact shadows in crevices, bolts, and recessed cavities.
Curvature & World Space Normal Maps: Guide smart generators during texturing to automatically place realistic edge wear on convex edges and dust accumulation in recessed areas.
Before moving to texturing, inspect your normal bake under harsh directional lighting to ensure there is zero ray-miss projection error or skewed detail.
Stage 7: PBR Texturing and Material Authoring
Modern game engines and offline renderers rely on PBR (Physically Based Rendering) workflows to ensure materials react accurately under any lighting condition—whether bright noon sunlight or neon interior lighting.
Using Substance 3D Painter or Mari, build up layered materials by storytelling through surface wear:
Base Material Layer: Establish accurate base colors (albedo), metallic values (pure metals at 1.0, dielectrics/non-metals at 0.0), and base surface roughness.
Surface Variation: Break up uniform surfaces using subtle tonal shifts, micro-roughness noise, and directional brush or machining marks.
Edge Wear & Storytelling: Add exposed metal along high-friction edges, oil leaks near mechanical joints, subtle dust in crevices, and decals or serial markings.
Export your final texture set—typically Base Color (Albedo), Normal, Roughness, Metallic, Ambient Occlusion, and Emissive—in 2K ($2048 \times 2048$) or 4K ($4096 \times 4096$) resolution, using channel-packed maps (such as ORM: Occlusion, Roughness, Metallic) when optimizing memory for Unreal Engine or Unity.
Stage 8: Look-Dev, Validation, and Engine Handoff
The final stage is quality assurance and final delivery. Never deliver an asset straight out of your modeling viewport without testing it in a real lighting environment.
Look-Dev & Presentation Renders: Load the asset into Marmoset Toolbag, Unreal Engine, or Arnold/V-Ray to verify shader response, scale accuracy, and wireframe cleanliness.
Clean File Organization: Freeze transformations, reset pivot points to logical origins (such as the bottom-center of a prop), name every mesh and material clearly (SM_AssetName_01, M_AssetName_01), and export standardized formats (.FBX, .OBJ, .GLB) alongside native source files (.MA, .MAX).
Need Production-Ready 3D Assets Built for Your Pipeline?
Building clean, optimized 3D assets takes precision at every step—from the very first blockout vertex to the final 4K PBR texture bake. At World of Polygon Tech, we partner with game studios, product brands, and creative agencies to deliver custom hard-surface props, vehicles, characters, and environments engineered to drop seamlessly into your production pipeline.
Explore our 3D Portfolio or Request a Custom Project Quote to get started.
